In our previous article we discussed using ELA for detection of fragments insertion from the same image or another image. This method also allows examiner to detect other image modifications. For example, image scaling, brightness, contrast and saturation correction, editing with an image editor, and filters usage.
But ELA results interpretation in such cases demands more experience from examiner. The best way to gain it is analysing images with known modifications.
For example, let’s examine blurred background on an image. On figures 1 and 2 you can see the image and its error pattern, on figures 3 and 4 – Gaussian Blur filter usage results.

Figure 1. Original image

Figure 2. Image error pattern

Figure 3. Gaussian Blur filter

Figure 4. Image error pattern
As you can see, error pattern on the first picture is quite homogeneous. Only sky on the pattern has dark colour. Error pattern of compressed images always has dark parts only if the image has homogeneous, without small parts, background.
On modified picture you can clearly see parts with different error pattern. One part is for the monument on the front, the other – for blurred background.
To understand it better, let’s examine an image, where background blurring became the result of using wide aperture (fig. 5, 6).

Figure 5. Background blurring with wide aperture

Figure 6. Image error pattern
Error pattern of such image shows smooth error level changing from front to background. This change corresponds with image sharpness changes because of disposal of focus point. It’s difficult to find smooth changes on original images where background objects are beyond the depth of field. But you will never find such changes in images modified with editors if a mask was used for it.
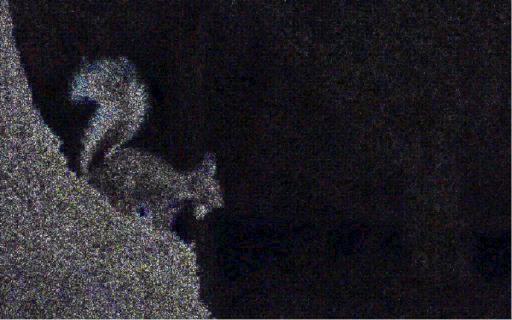
Sometimes it’s very difficult to interpret ELA results right while examining blurring. The image on figure 7 illustrates an article about making photos with shallow depth of field. But on its error pattern you can clearly see two zones: the first (a tree and a squirrel) resembles sharpness improving results, the other (background) – resembles blurring results.

Figure 7. Original image

Figure 8. Image error pattern
About the authors:
Serge Petrov
Interests: Digital Video Forensics, Forgery Detection, Audio Forensics
Interests: Computer, Cell Phone & Chip-Off Forensics
Interests: iOS forensics, Android forensics, Mac OS X forensics, Windows forensics, Linux forensics


Comments are closed.