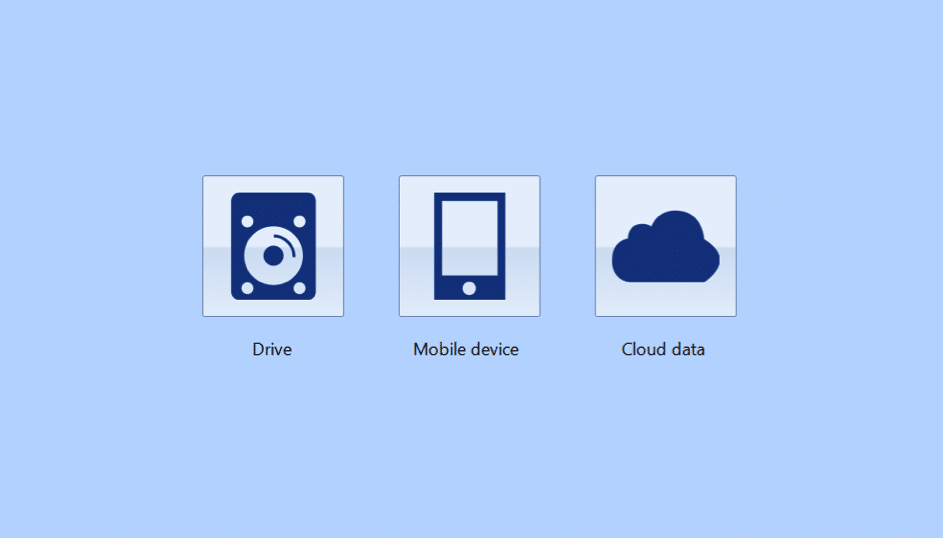
Recently, we participated in BEC 2017 and BelkaImager Early Access Program. Many of you are familiar with BEC, but what about BelkaImager? It is a new imaging tool from Belkasoft capable of acquisitions of drives, mobile devices and even Cloud data. Today we are going to test it and show you how to image a flash drive and an iPhone with it.
BelkaImager is a standalone tool: you don’t have to install it – all you need is unpack the archive with the executable file .exe and store it on a flash drive.
After starting the tool, you’ll see the following screen:

Let’s start from imaging our flash drive by choosing the Drive icon. We chose Physical drive, as you can see, and our flash drive is \\.\PHYSICALDRIVE3. We decided to create a raw image with SHA-1 checksum:

After clicking Next, the imaging process started:

When the process was finished, we received the following message:

As a result, we received a raw (dd) image that can be easily parsed with any computer forensic suite.
Later on, we decided to image an iPhone. Now you should choose a Mobile device icon. Here is the list of available devices:

There is nothing to choose here, except for image path, as you can see, so we chose G:\iPhone. Click Next:

The tool is performing logical acquisition via iTunes backup. It should be noted that there are some tips for Android acquisitions on the window.
Finally, the backing up process was finished and, again, we had the following message:

As you can see, the tool is really easy to use. It’s still in a developing stage, so we highly recommend you to participate in Early Access program. We hope that you will try Cloud acquisition yourself and share the results with us!
About the authors:
Interests: Computer, Cell Phone & Chip-Off Forensics
Interests: iOS forensics, Android forensics, Mac OS X forensics, Windows forensics, Linux forensics


Comments are closed.